Creating Applications for the Nao Robot
To create applications easily SoftBank Robotics has provided the Choregraphe suite. This is an application that simplifies the creation and execution of custom applications and routines.
This guide is specific to th NAO V6 Robot! Any other robot will use different processes and software. Make sure you know what your NAO’s version is.
Requirements
- NAO Robot V6
- The newest version of Choregraphe.
Connecting NAO to Choregraphe
In order to connect NAO to Choregraphe, the computer running Choregraphe and NAO must be on the same network.
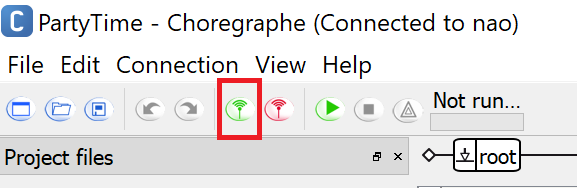
Once your NAO and computer are on the same network, open Choregraphe and click this green button near the top left.
Starting a new Project
Once Choregraphe confirms your connection to your NAO robot, you can start a new project in Choregraphe by clicking “File > New Project” on the toolbar, or by using the shortcut Ctrl+N.
After starting a new project, you can click “Properties” near the top left. This will open a dialog box where you can change your project’s properties, including the name, appID, and behavior names. For this example we will name the project “Party Time”
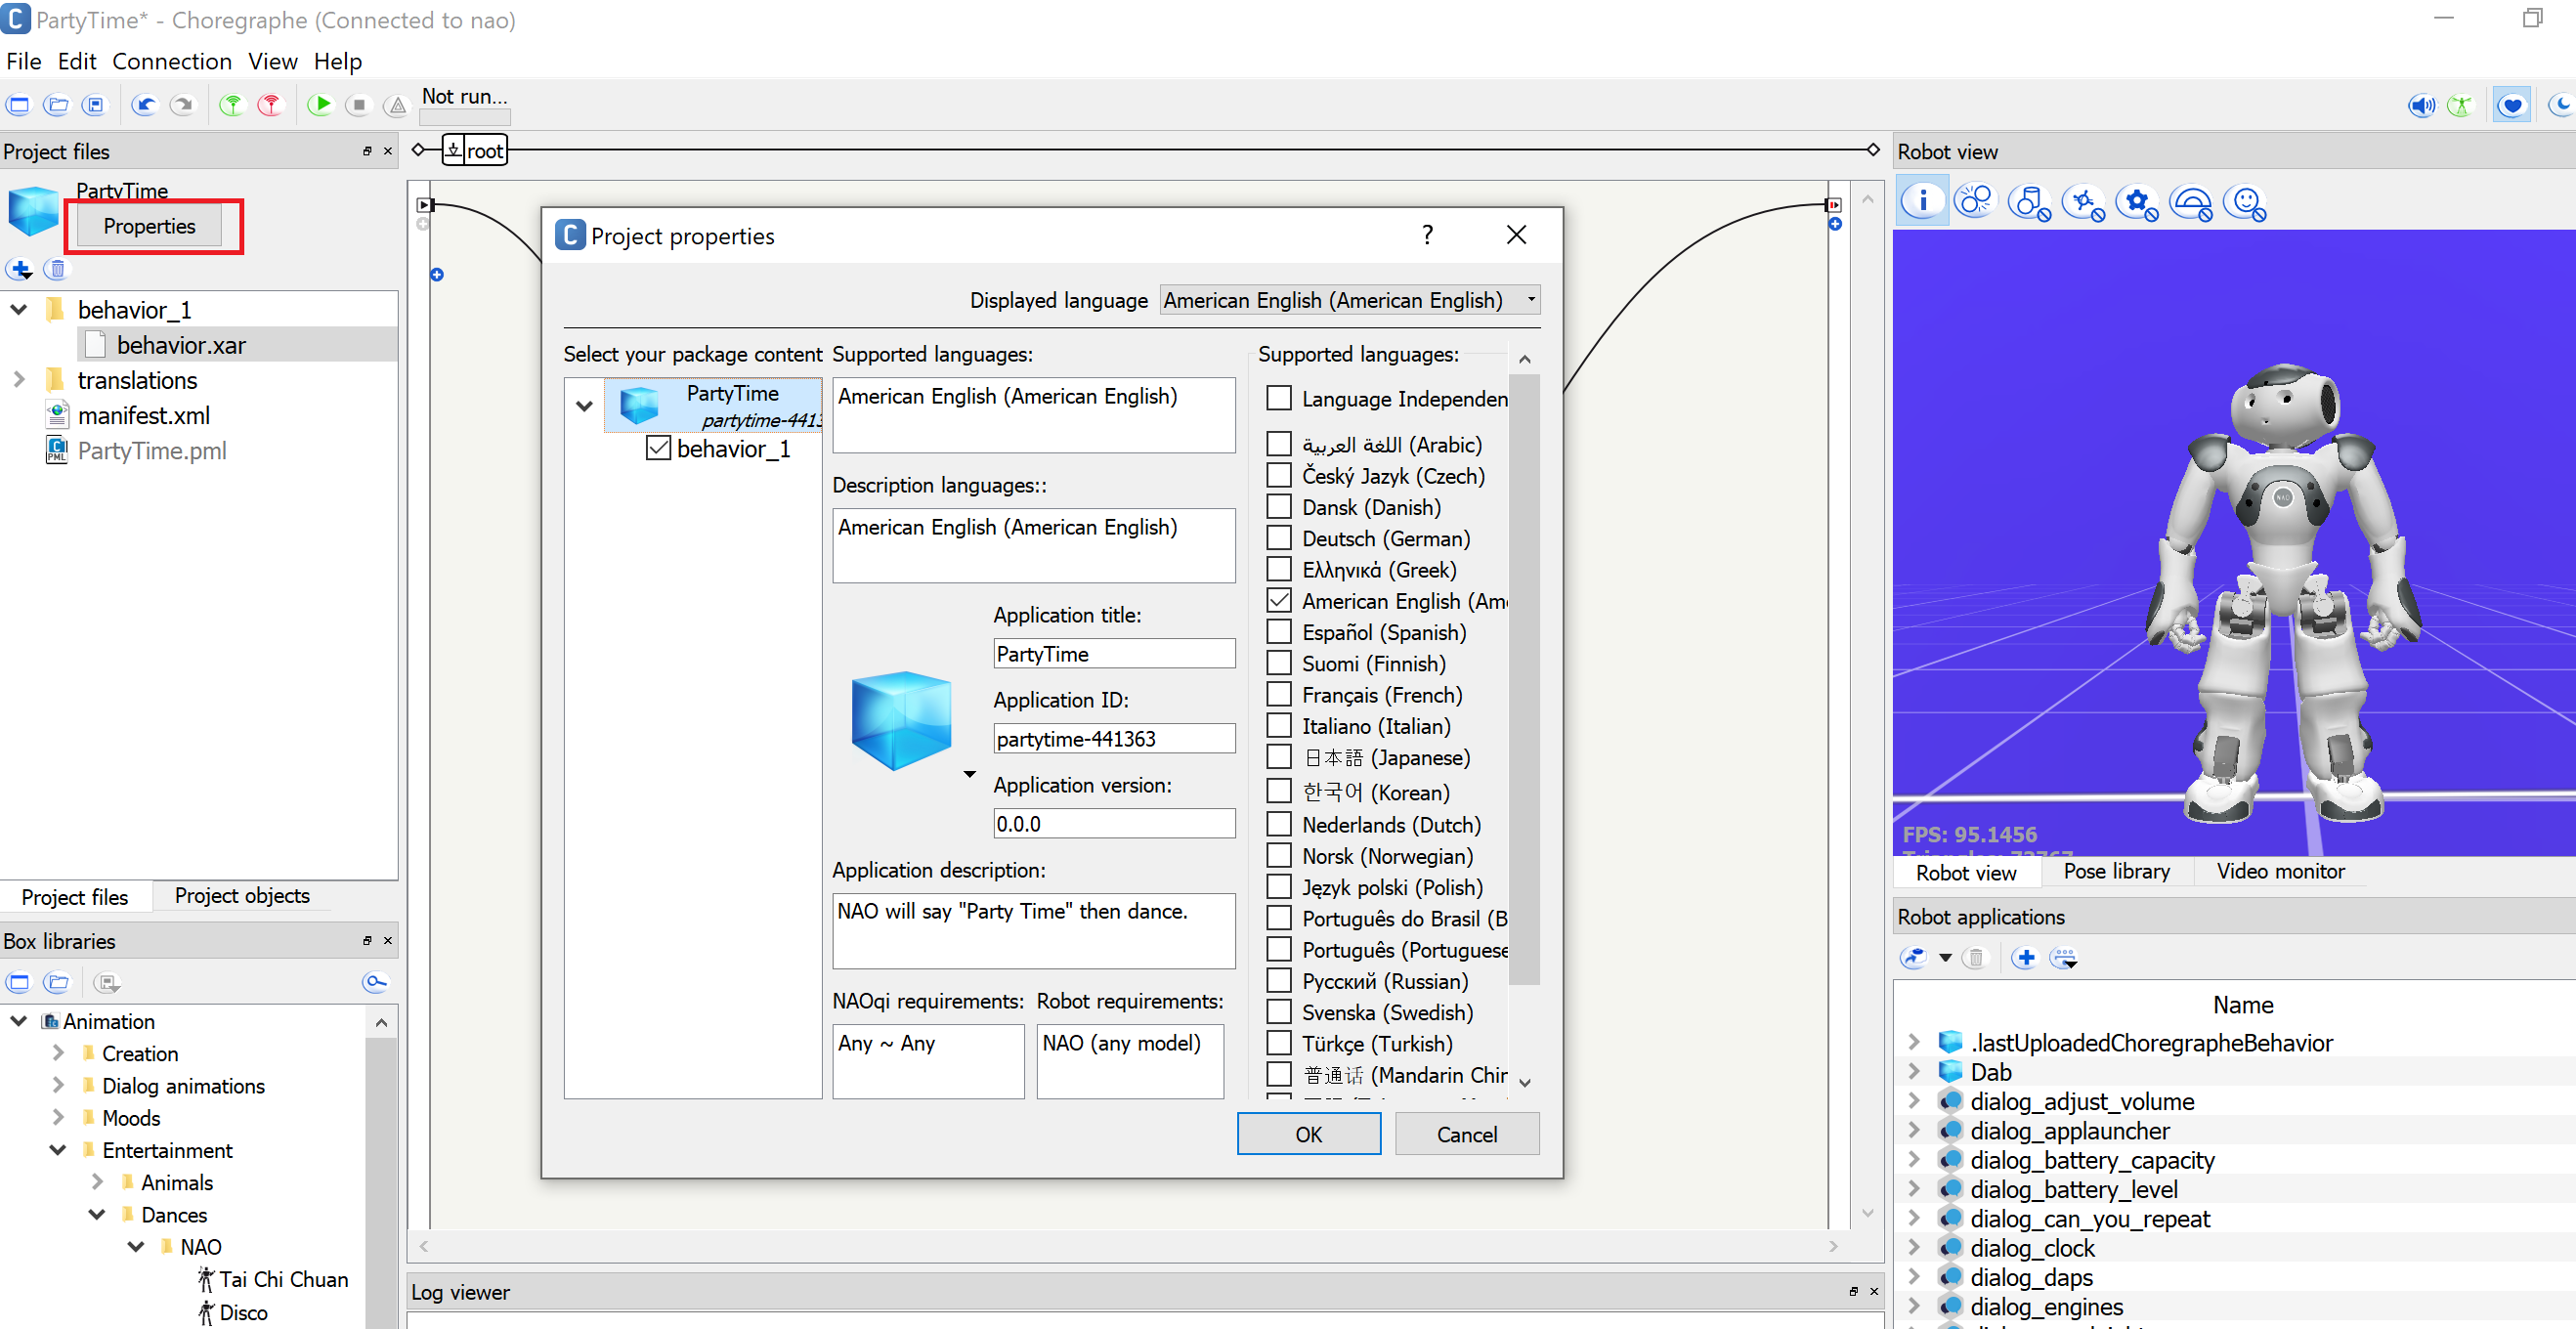
It is also important to declare what version of NAO robot is needed, or else when the time comes to package the application you will get an error message. For now, using the bottom two boxed in the dialog box make the application available to “Any - Any” NAOqi version and only for “NAO (any model)”.
Behaviors
A behavior is a program or sequence that your robot will execute. You can have multiple behaviors in one application, and those behaviors can have logic and multiple layers.
For this example, our NAO robot will only listen for trigger words, say “It’s Party time”, and then execute a pre-programmed dance.
We can name our behavior using the same dialog box used for changing the project name. Title your behavior “PartyTime”
After naming the behavior, we need to add a dialog box so that NAO can speak, and a timeline box so that NAO knows how to dance. Thankfully, we can use some pre-installed ones to make this easier.
You can add boxes to your root behavior by double clicking them from the left hand side toolbar labeled “Box Libraries”
The ones we are looking for are “Say” located under Speech > Creation and “Disco” under Animation > Entertainment > Dances > NAO
Once the boxes are added, we need to tell NAO what to say. Do this by clicking the wrench at the bottom left of the “Say” box, and inputting the desired text.
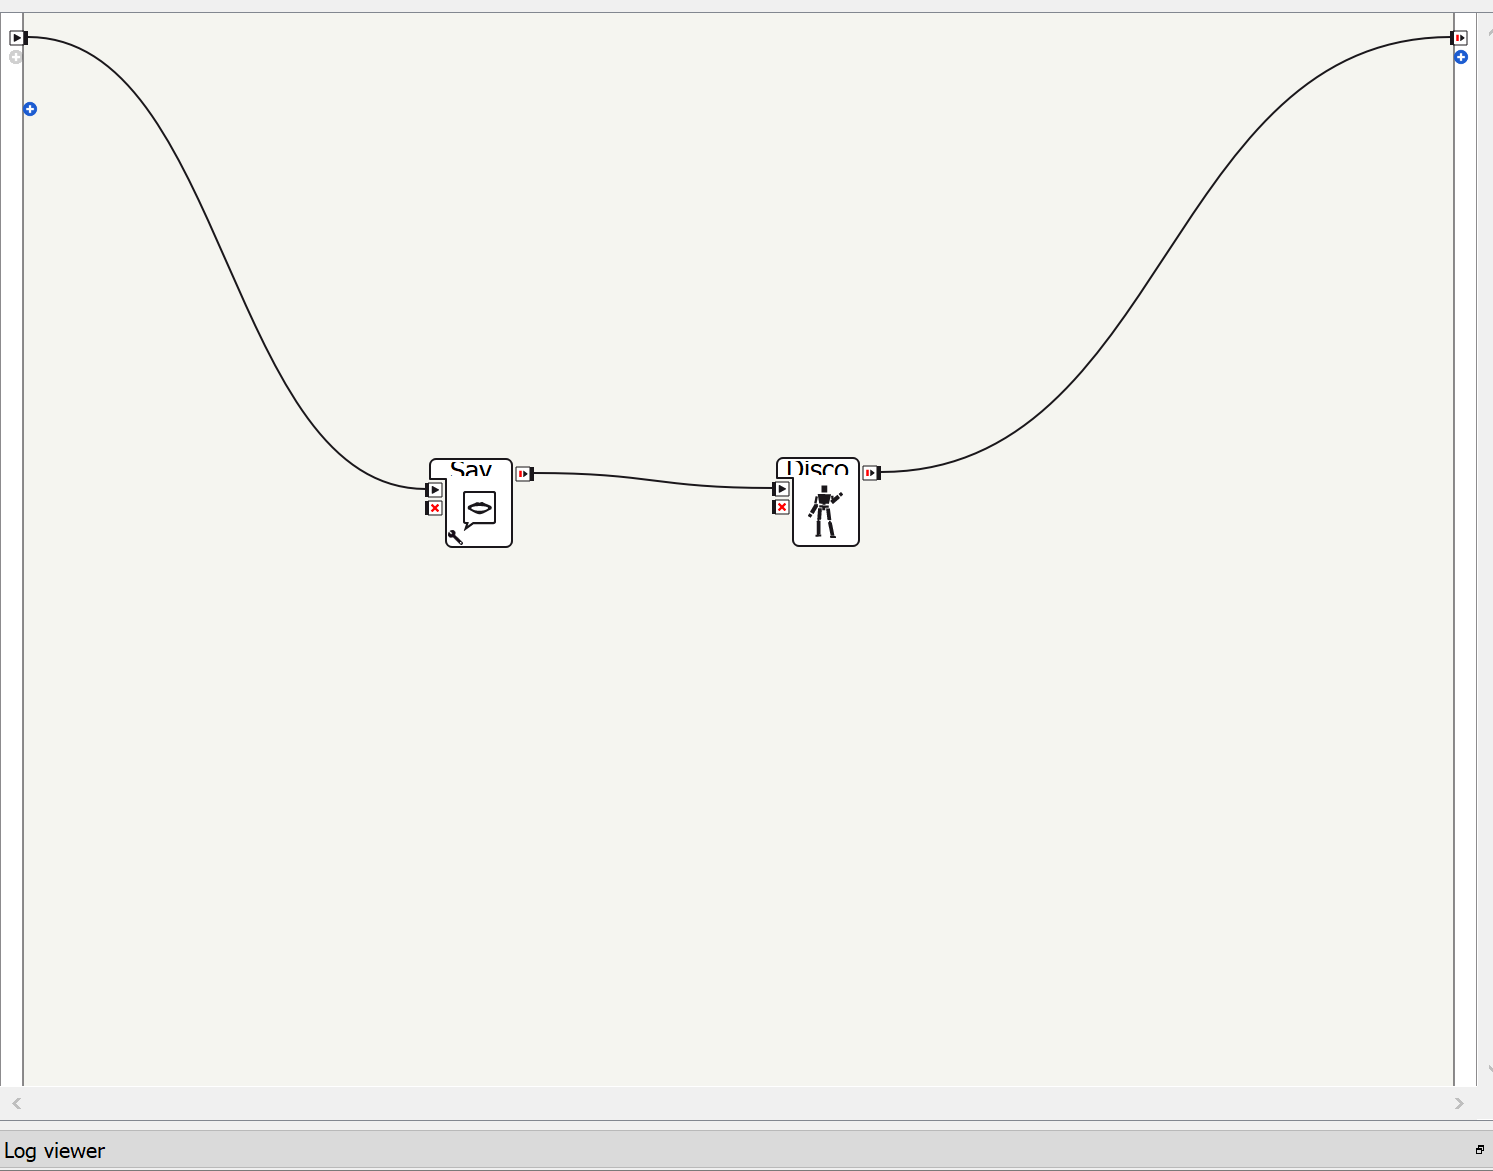
Now your boxes are ready to be connected. This is done by making lines to and from the desire boxes, following the sequence you want. For this example, once the behavior starts, you want NAO to speak first, then dance then end. Make connections accordingly. The end result should look like this.
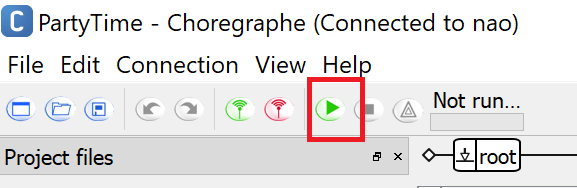
Once everything is connected, you can try out the behavior by clicking to green play button next to the connection buttons.
Trigger Words
Once you are satisfied with your behavior, you need to let NAO know when he should execute it. This is done by adding “Trigger Sentences” to his behavior properties.
Again, open the “Properties” dialog box and navigate to the desired behavior. From here you should see “Trigger Sentences” on the right. Add as many trigger sentences and words as you want, just be sure to make them distict, to avoid any overlap with any other applications.
For this example, add “It’s party time” and “Party” as two seperate trigger sentences.
Packaging and Sending the application to NAO
Once you are satisfied with you application as a whole, you can send it to NAO’s memory. This will allow him to execute it wihtout needing to be connected to Choregraphe. It will also mean the app is stored locally inside NAO until the time you choose to delete it from his memeory.
Before you package the application, be sure to save it.
To package an application use the left botton toolbar labeled “Robot Applications”. If you do not see it, you might have to toggle it by using the main toolbar and navigating to View > Robot Applications
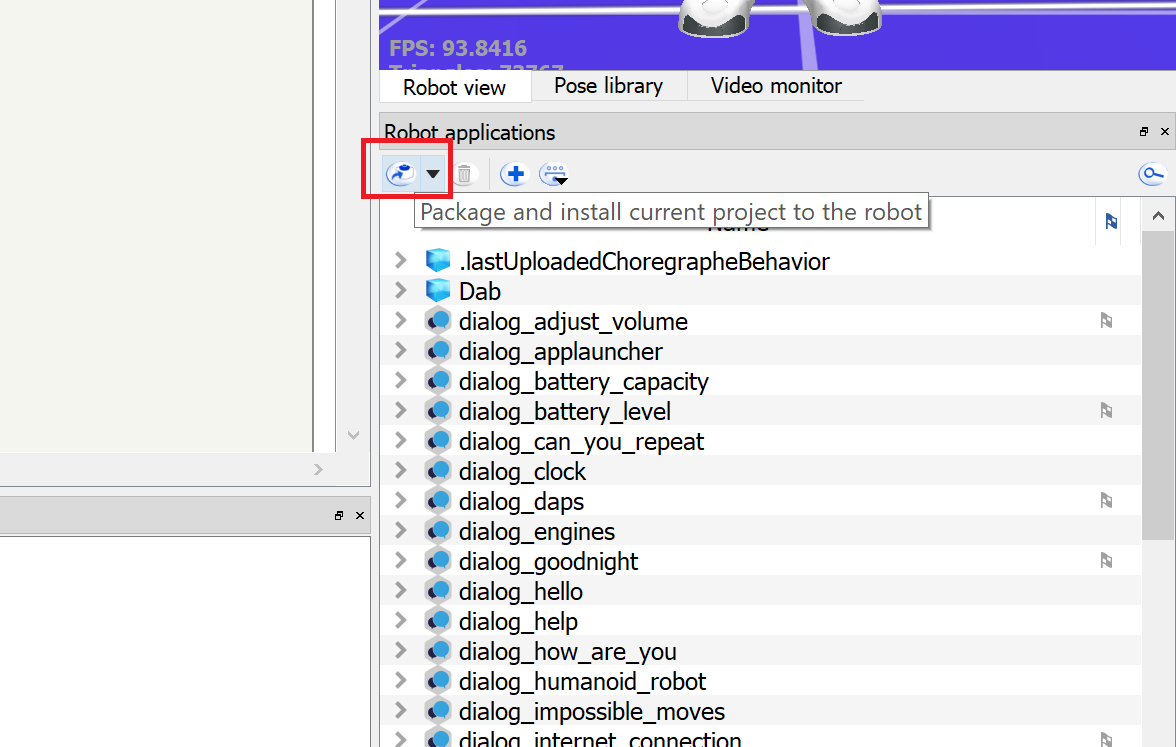
On the “Robot Applications” toolbar you need to click the first button. If you hover over it, it will show “Package and Install current project to the robot”. As it states, this will install Party Time onto the NAO robot.
Click it and wait until it is finished.
Once that is completed, you are done! NAO will now listen for the specified trigger words when you interact with him.